Saturday 8 November 2014

Thursday 10 July 2014

Visible Image July Challenge


the background for this piece was created with pan pastels
the verse is a Visible Image stamp
the other stamps are Prima Marketing
little bit of colouring with Spectrum Noir markers


Monday 7 July 2014

Visible Image July Challenge


Today I have been having a play with Dylusions Ink Sprays (you should see my fingers) and Visible Image stamps with a view to entering it into their July challenge as I would be overjoyed to win some of their goodies.

Friday 4 July 2014

RETIREMENT CARD FOR LADIES


Card for my sister in law

Front of card is die cut 

All papers are from heartfelt creations

Main stamp HC

Coloured with Spectrum Noir markers

Flower  is covered with Hydrangea cuts from Martha Stewart punch

mini pearls placed in centre

I am very happy with how this card has turned out

One of my best 

Wednesday 2 July 2014

BLOSSOMS GALORE


I saw this Stampendous stamp set  and just had to have it

Stamped the face 

stamped the blossom numerous times on card and cut them out

Arranged the blossoms around the head and glued down

pearls were placed in the centre of blossoms

pearls for dropper earring

coloured the face with spectrum Noir markers

stamped the greeting

after which I had inky blobs

covered these with the small flowers 

Job done and I love the result

Friday 6 June 2014

The Winner


Card stamped with Heartfelt Creations and free stamps from Magazine
Bike standing on Washi Tape

Wednesday 21 May 2014

Free Lavinia stamps with Papercraft Essentials Magazine


Created today

little piece of artwork 

with free stamps from Lavinia

SpectrumNoirs for background

Trees in the middle ground were hand drawn

Clouds created by blender

Monday 5 May 2014

ONE PUFF AND IT'S GONE


Background  Phill Martin 'Dandelion whispers'
stamped and embossed in fine detail gold

Other stamps not sure of origin
Look like either paper Artsy or Dylusions
cut out and face coloured 

Embellished with Tim Holtz Idea-ology on head
Clock bought from E-bay 

Afterthought on this one 
Colouring the face 
Image looked too stark without a bit of rouge and lipstick

The card base was bought pre cut


A BIT SHABBY CHIC


Lovely focal image cut out of postcard free from Crafty Individuals every time you purchase 
Also a few little freebie stamps
Go visit them for inspiration
She reminds me of the granddaughter this card was made for

Card Stock  

Heartfelt Creations Once Upon A Time Collection

Dies

Spellbinders Majestic Element

From My Stash

Prima Flowers, ivory pearls and cream lace

The afterthought was the scrap lace surrounding the flowers

Their is always an afterthought, usually more than one

less is more, NEVER, not in my head


Tuesday 22 April 2014

La Pashe Flippin Men


Lapashe flippin men

Image stamped and coloured with Spectrum Noir pens

Die cut then attached to canvas distressed around the edges 

Bill Shankley quote stamped below

Metal clock embellishment attached

Tuesday 15 April 2014


Happy Birthday and Daughter cut from my Silhouette

Butterfly and flourishes are Stephanie Weightman dies

Centre panel memory Box die

small butterflies are Marianne D dies

Flower is heartfelt Creations die

White card behind butterfly embossed with freebie from magazine

Small bow from my stash coloured with spectrum Noir pen 
to match colour of butterfly and flower

Used same pen to edge card


Sunday 6 April 2014

Poppies


Card idea from Pinterest

Spellbinders Frame
Memory Box Poppies die
Cut out hand drawn bow
attached to strip of same dotty card
Sentiment stamped

Sunday 30 March 2014

Ahoy Matey


Card for my  Grandson Jude 
Images cut entirely on my Silhouette
Used black card for hat and printing
metal card for sword
rest was cut from white card coloured with
Spectrum Noir pens 


Inside card

Saturday 15 March 2014

Masculine Card


Needed a quick card
Looked on pinterest for inspiration
Masked off strip and stamped sentiment
Pan pastels for background, erased for clouds
Cut out hot air balloons on Silhouette 
Did not have black gems so coloured blue ones black with spectrum noir pens

very happy with the end result

Friday 7 March 2014

Masked Feather


Cut feather on my Silhouette Cameo
Used as a mask, sprayed over with blue ink
Stamped verse from Visible Images
Placed bird on branch over feather
Tiny gem for eye
Same tiny gems in each corner


Monday 3 March 2014

My take on Sam Poole's Butterfly Girl


Card for Granddaughter Mia
I love this card, am so happy with the result, thank you Sam Poole, I love all your stamps and designs.

Background papers free gift from a magazine
Butterfly girl stamped on paper and cut out
I cut off the wings
Flower cut out from same paper
Fixed with a metal brad
Tim Holtz metal leaves
Tattered Lace Butterfly die for wings
Cream lace


Thursday 27 February 2014

Additions to 18 Granddaughter Card


Added Granddaughter tag
more buttons in centre of flowers on background card
removed buttons from freedom label, replaced with bows
A step too far?
Decided I had better go to bed before I added more


Tuesday 25 February 2014


Sliding Cash Gift Holder cut on my Silhouette cameo

DCWV cardstock

Handcut a tag and stamped 18 on it

Sizzix die cut flower

Prima key and flower

Ribbon and lace


Birthday card for my Granddaughter

Prima key and flower

free stamp from magazine

DCWV cardstock

Die cut numbers on my Silhouette Cameo

Sizzix dies

buttons


Card for my sister, do not know why this has imported sideways as it was correct way up in my file, never mind.  Die cut dress form and flower, papermania newsprint paper, hand cut skirt. added Tim Holtz measuring tape, pearl and buttons.

Tuesday 28 January 2014

Doo Lally Pip by Lindsay Mason for Personal Impressions:Moochin


LINDSAY MASON PROJECT GLUE N' SEAL RESIST

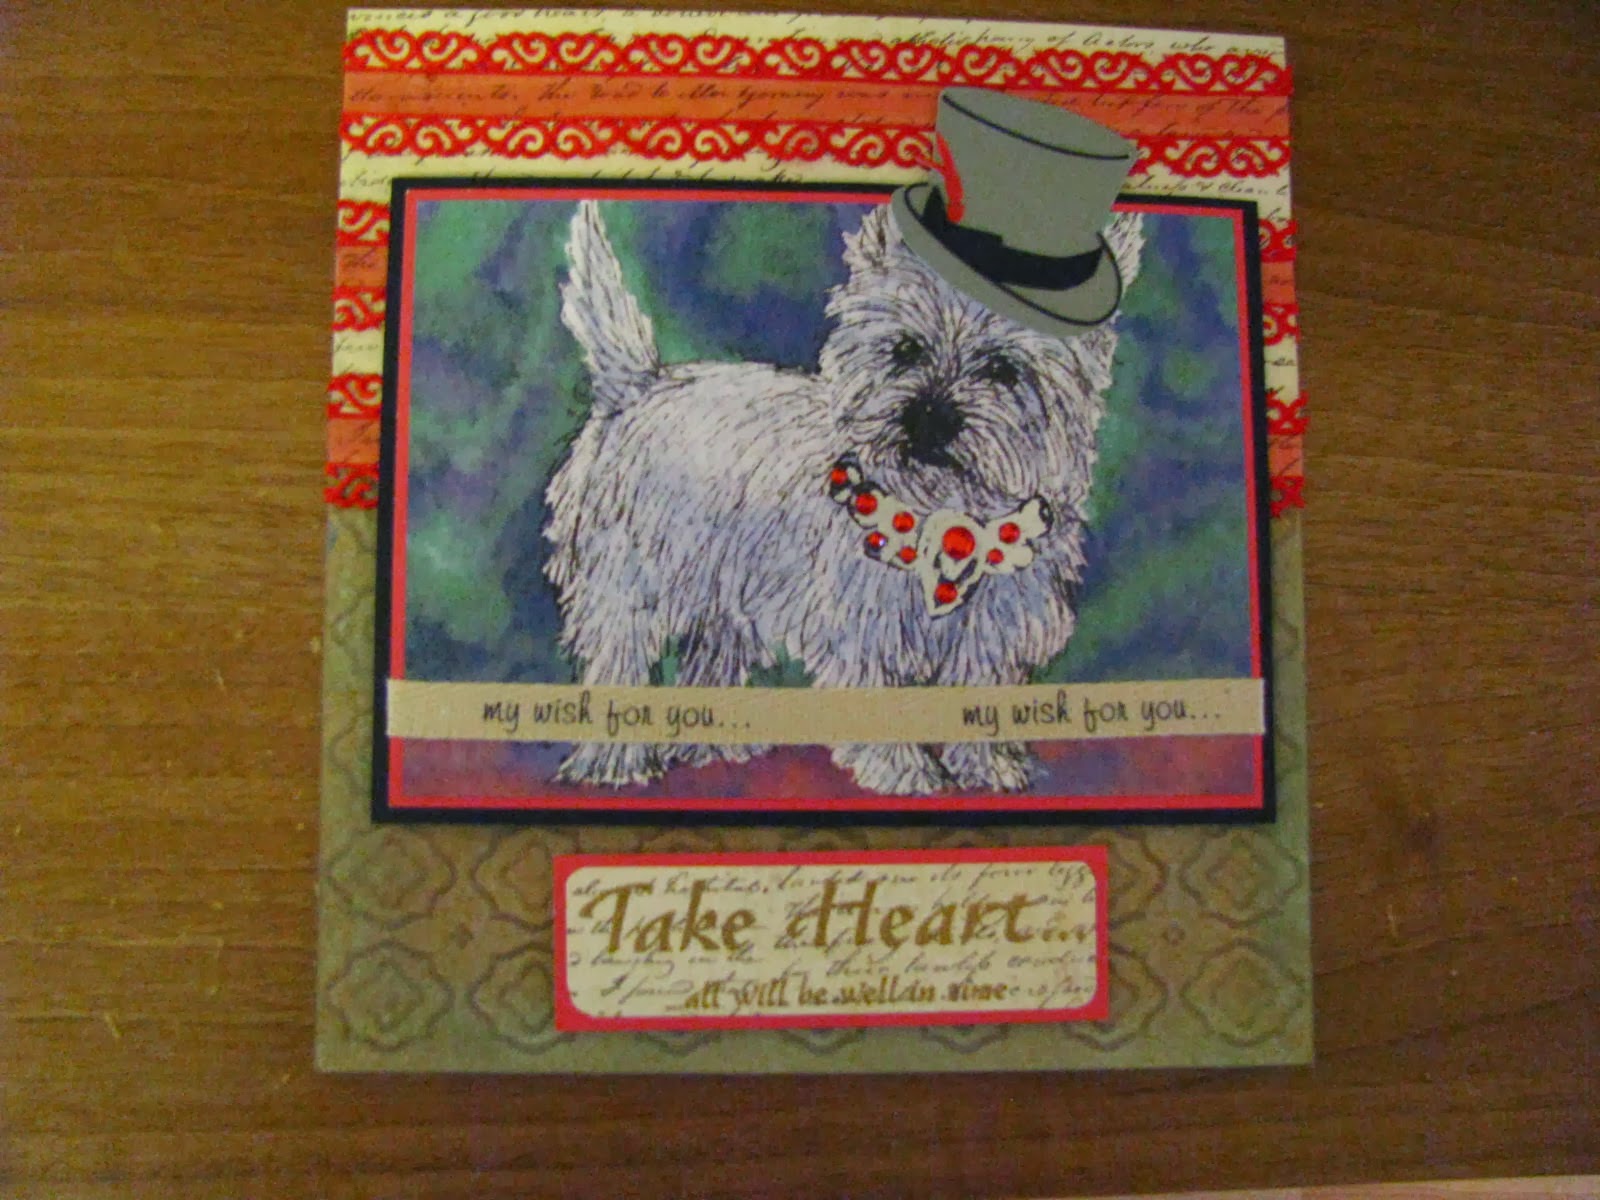
Full credit for this card design goes to Lindsay Mason.  Behind with my card making I looked to Craft Stamper for inspiration and found this.  I love Lindsay mason stamps and have quite a few in my collection including this 'Moochin' I've had enough (CICSA6063)  To quote Lindsay "the range is full of fun and quirky characters as well as quotes and phrases which work well for journaling, altered art pieces and card marking".

Two things  learnt from this article was a resist method using Glue N Seal.  I have always used paper masks to cover my images, this is such a quicker method with better results.

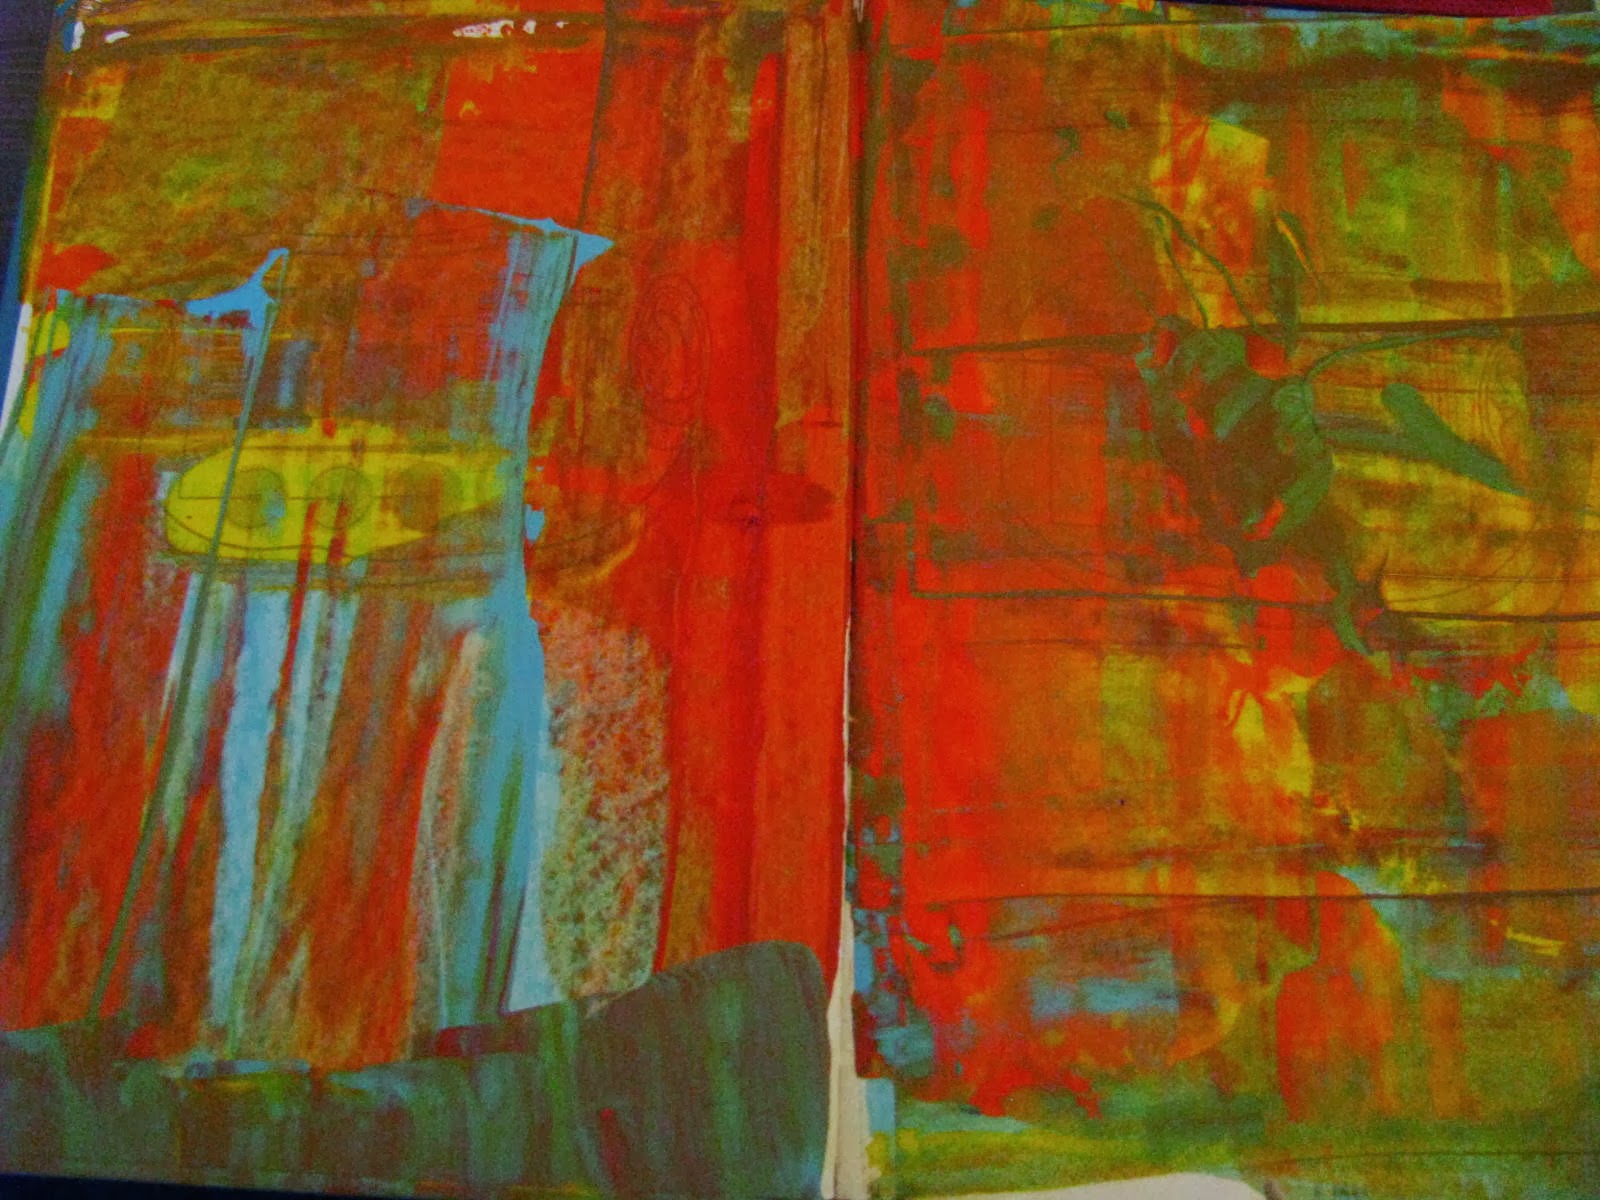
The other was using the kitchen towel that  I mopped up the ink left on my craft sheet.  I had read of this somewhere before but had forgotten about it. But now that I have put it into practice and got such great results, will be using it a lot.  The 'dirty towel' was used to  cut out Moochin's  jeans and t shirt and just look at the texture created to ground him.

The days of stamping and cutting out a mask for my images are over, much better to use the glue n seal as a resist, though this, being my first attempt, I did make  too gloopy but it all added to the texture.

A Great resist technique Lindsay and I couldn't resist copying it (just love puns). That is after all  how we learn . I did change the colours  and also used a mask to create the blots.

Many thanks to Lindsay Mason for her card design, I know my Grandson will just love it!


Monday 27 January 2014

Quick cards made easy


Needed two cards in a hurry.  Base cards are from 'Craftwork Cards' bought on sale.  I simply pasted the vintage images onto the cards and then decorated them with lace, ribbon gems, glitter and embellishments all from my stash.  Loverley!


Sunday 26 January 2014

Card created for my Niece


Card made using Tonic Dies
From my stash
purple backing paper
black ribbon
dotty buttons
small flower punch
micro beads
black distress marker

Friday 17 January 2014

Birthday card for my son


This is the card I made for my son this morning

Materials used
background papers from my stash
dotty co ordinations
rubber stamps (unknown)
tim Holtz walnut stain distress ink pad
Prima embellishment+
string
Papermania alphabet stamps and brads

Wednesday 8 January 2014

Returned to my pages to stamp borders, now what shall I add?  Whilst stuck for ideas I picked up an oil pastel to fill in circles in the borders.  The circles, being tiny meant that I was not so much filling them in as smudging outside the line.  This will be good for me who is always striving for perfection,  I am free on theses pages to make as much mess as I like and it does not matter.   This is a whole new experience for me and oil pastels to not work over acrylic paint (something else I have learnt)

A good idea for me will be using quotes found on Pinterest, thank you Lesley for pointing me in this direction  when I needed inspiration.  Now I am addicted, and regarding the quotes have founds loads that I can relate to.


The first layer of altered book.  The right hand side resulted in mud as I over mixed the colours.  the left hand side I like.  Will see how it develops later today.  I used acrylic paints, applied with an old plastic card. 


Sunday 5 January 2014


                                                         STEAMPUNK WESTIE


Have just cleaned out my 'arty cupboard'  and as usual found lots of stuff I forgot I had. Also came across this card I made for a friend who was going through a very bad patch in her life.  I loved the card so much, plus I also was experiencing sad times, could not bear to part with it and thought I would frame it.  Of course the frame never got bought and the card was put away in said cupboard and forgotten all about.  It is now on display in the glass cabinet until I get the frame, but at least it is now on show for me.  Oh, and by the way I did make another card to give to my friend.

Friday 3 January 2014


Go on over to N*Studio and check it out. Begin your own creative journey with Nathalie Kalbach and other talented artists.  
Above is the mixed media canvas I made at a Finnabair Workshop last December in Wirksworth, Derbyshire.  This is where the excitement began for me to create more Art.  I went with my friend Lesley, we both had an amazing time, especially getting to meet the lovely Finnabair, who taught us lots of different techniques.  The photo is of my wonderful parents, Bob and Ivy on their wedding day.


My First Gelli Print


Here is my first Gelli print and I love it.  Found items used were toilet roll, plastic fork, fruit netting, corrugated cardboard, credit card to create thin lines and bubble wrap. I particularly liked the swathe of white created by a thickness of the netting that will be great to journal on at a later date.

Art Journal - Journey Begins Here

My name is Chris and this is my Journey into Art Journalling.

I will be displaying my art work as I go along on this blog

Chris